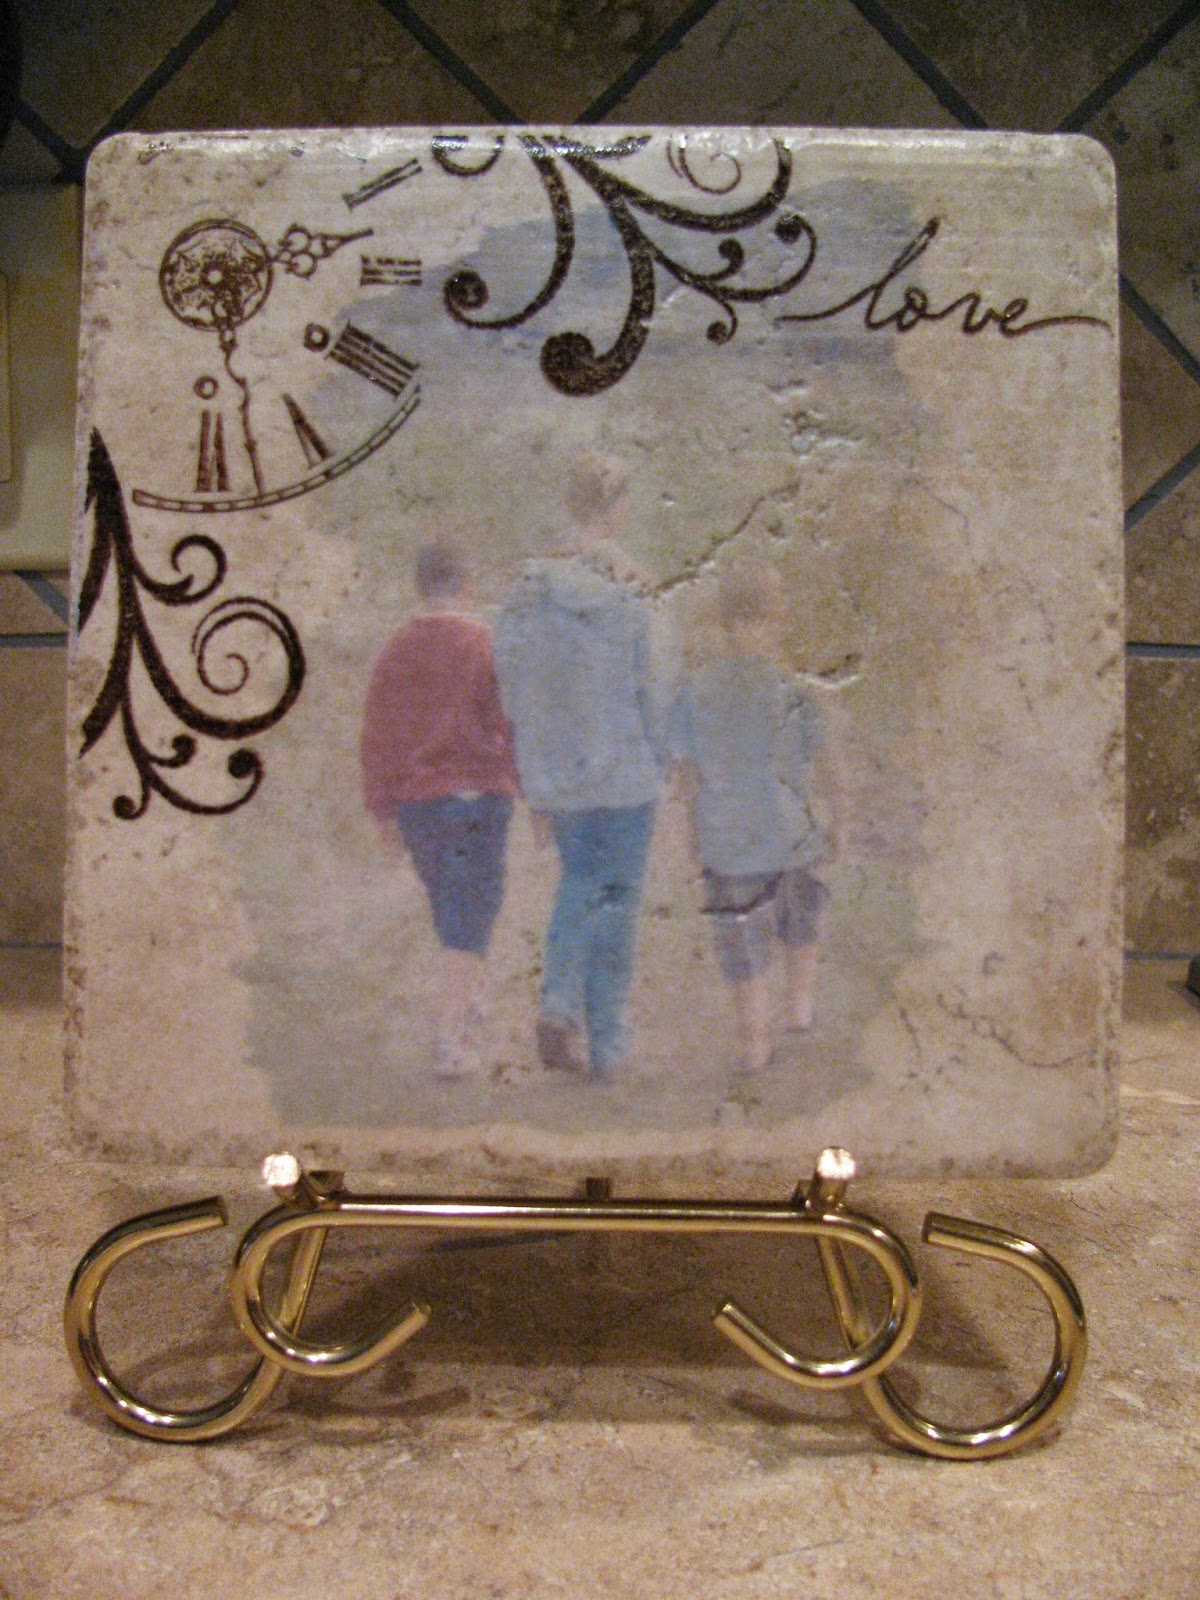
The tutorial that I'm showing you is for the tile that I made for my friend Amy, who celebrated a birthday yesterday:
I decided to try something new on Amy's tile by adding a rolled burlap flower with a button center, a distressed paper doily and a couple of little keys to the lower left corner for a little added "foo-foo". I really like how it came together and I'm excited to give the tile to her later this morning!
Let me show you how I made it:
First off, gather your materials. You'll need the following:
- 6" x 6" tumbled marble tile from your local home improvement center
- Mod Podge
- Computer and color printer
- Photograph
- Cardstock
- White tissue paper
- Sponge brush
- Disposable plastic container
- Scotch tape
- Rubber stamps
- Brown Staz-On ink
- Paper doily that's been tea-dyed/torn/distressed
- Rolled burlap flower and fabric leaves
- Button
- Little keys (I found these in the jewelry making section at Hobby Lobby)
- Alene's Quick Dry Tacky Glue
- Terrifically Tacky Tape
- A piece of cardboard to protect your work space
- Metal stand (can be purchased at Hobby Lobby or Michael's)
Begin by scanning the photograph that you want use into your computer. Cut a piece of white tissue paper just slightly smaller than the size of a piece of copy paper and tape the edges down using Scotch tape:
Print the photo on the tissue side of the paper and set aside. Wipe off the tile with a damp paper towel to remove any dust from it:
Carefully tear away the tissue paper photo from the copy paper. Now the fun begins!! Gather your tile, Mod Podge, sponge brush, photo and plastic container. (I washout and save pudding and Jell-O containers for projects such as this...it's a great way to recycle!)
Pour some Mod Podge into the plastic cup. Using the sponge brush, apply an even layer of Mod Podge to the tile:
Carefully place the torn tissue photo in the center of the tile, smoothing from the center outward with your fingers to remove any air bubbles. Coat over the photo with an additional layer of Mod Podge and set the tile aside to thoroughly dry:
Once dry, you can add any decorations that you desire! I used brown Staz-On ink and some of my Close To My Heart acrylic stamps on Amy's tile. I then distressed and tore a paper doily and applied it to the lower left corner of the tile with Mod Podge as well. I allowed a few crinkles in the doily when I adhered it to the tile to add to the aged/vintage look that I was going for:
Once the doily was dry, I added an aged burlap flower, button, leaves and keys to the top of the doily with Alene's Quick Dry Tacky Glue:
To give the backside of the tile a finished look, I printed my name and blog address on a piece of cardstock that matched the tile and adhered it to the back using Terrifically Tacky Tape:
Here's another peek at the finished tile:
Lastly, to give you some more ideas, here are some pics of a few of the tiles that I've made through the years...
I think it's so cool how they all turn out so unique due to the crevices and specific features of each tile! Thanks for dropping by today...have a FANTASTIC week!

.jpg)
.jpg)
.jpg)
.jpg)
.jpg)
.jpg)
.jpg)
.jpg)
.jpg)

.jpg)

.jpg)
.jpg)
.jpg)
.jpg)

No comments:
Post a Comment
Thanks so much for leaving a comment; I truly value your thoughts, ideas and opinions! Have a blessed day! Becky B.