Monday, January 19, 2015

Photo Tile Tutorial...

Hi, folks! Through the years I've made several photo tiles for friends and family members, but I've never posted a tutorial on how I create them. Well, today is the day to finally post a "how-to" so you can make some for the special people in your life too! (These make TERRIFIC wedding, anniversary, graduation and baby gifts!)

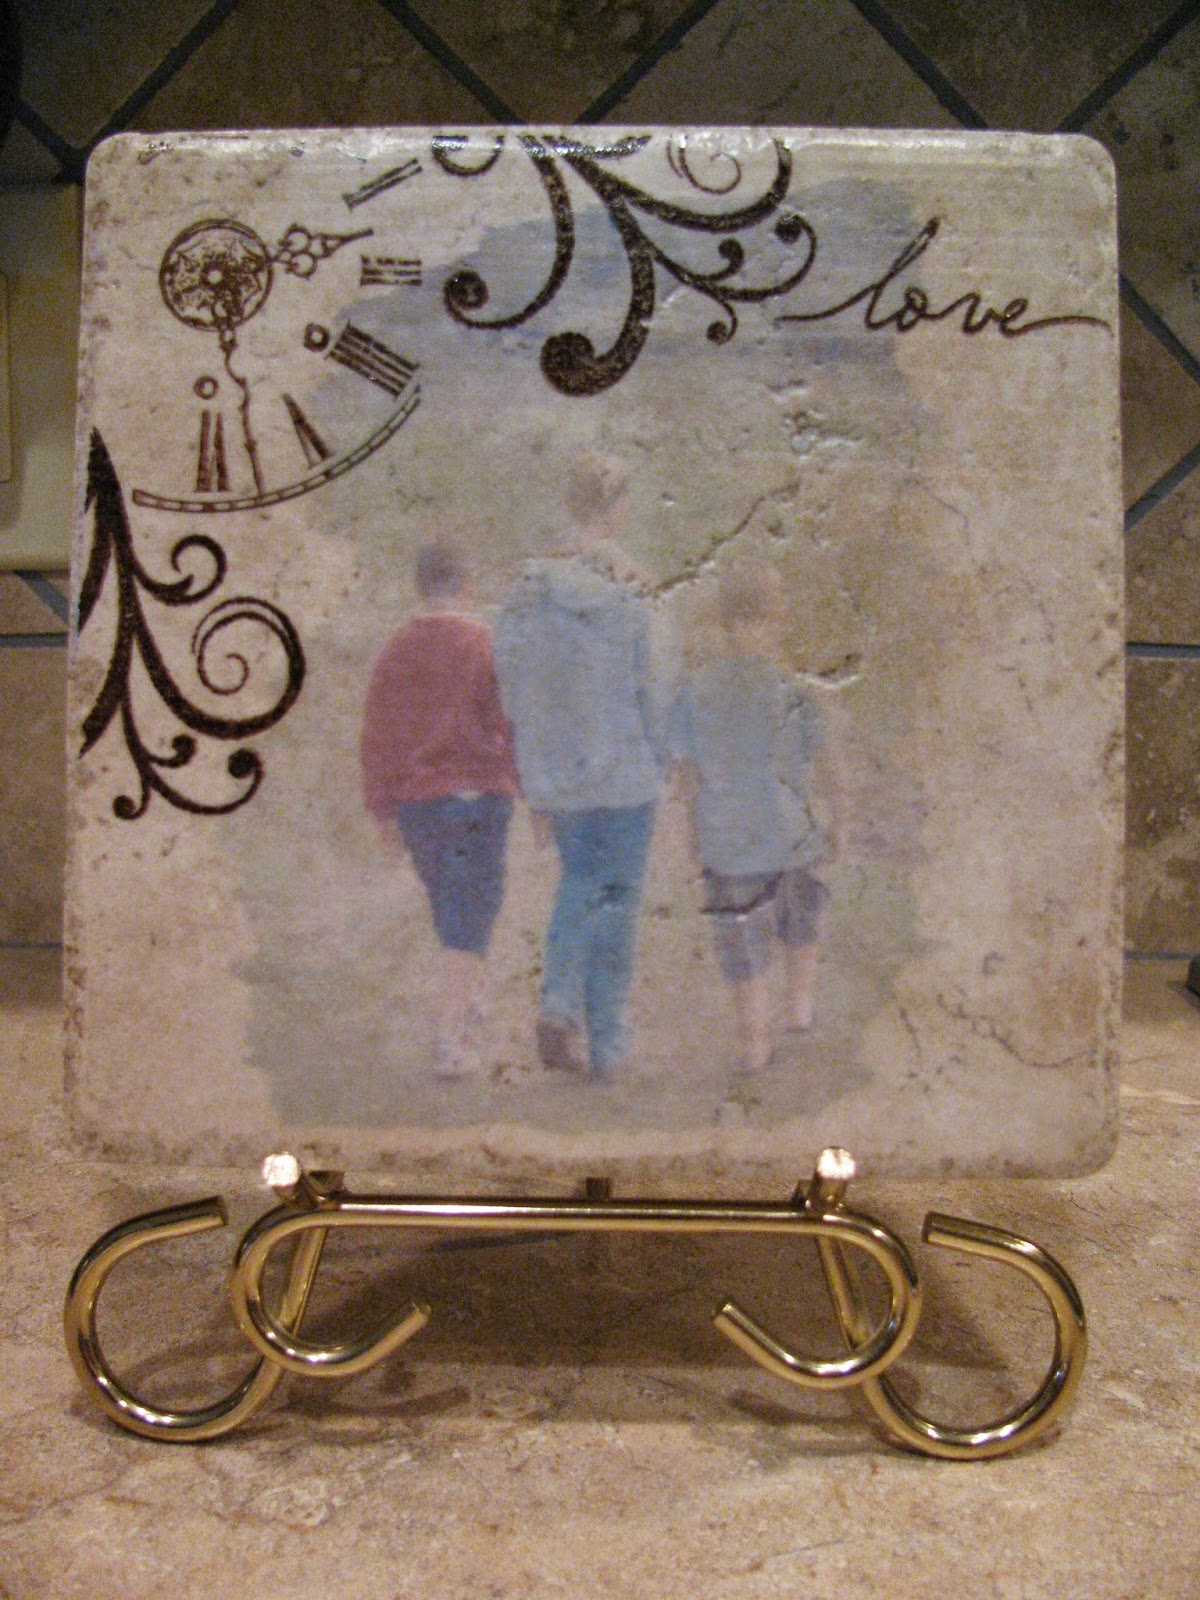
The tutorial that I'm showing you is for the tile that I made for my friend Amy, who celebrated a birthday yesterday:


I decided to try something new on Amy's tile by adding a rolled burlap flower with a button center, a distressed paper doily and a couple of little keys to the lower left corner for a little added "foo-foo". I really like how it came together and I'm excited to give the tile to her later this morning!

Let me show you how I made it:

First off, gather your materials. You'll need the following:

  • 6" x 6" tumbled marble tile from your local home improvement center
  • Mod Podge
  • Computer and color printer
  • Photograph
  • Cardstock
  • White tissue paper
  • Sponge brush
  • Disposable plastic container
  • Scotch tape
  • Rubber stamps
  • Brown Staz-On ink
  • Paper doily that's been tea-dyed/torn/distressed
  • Rolled burlap flower and fabric leaves
  • Button
  • Little keys (I found these in the jewelry making section at Hobby Lobby)
  • Alene's Quick Dry Tacky Glue
  • Terrifically Tacky Tape
  • A piece of cardboard to protect your work space
  • Metal stand (can be purchased at Hobby Lobby or Michael's)
Begin by scanning the photograph that you want use into your computer. Cut a piece of white tissue paper just slightly smaller than the size of a piece of copy paper and tape the edges down using Scotch tape:


Print the photo on the tissue side of the paper and set aside. Wipe off the tile with a damp paper towel to remove any dust from it:


Carefully tear away the tissue paper photo from the copy paper. Now the fun begins!! Gather your tile, Mod Podge, sponge brush, photo and plastic container. (I washout and save pudding and Jell-O containers for projects such as this...it's a great way to recycle!)


Pour some Mod Podge into the plastic cup. Using the sponge brush, apply an even layer of Mod Podge to the tile:


Carefully place the torn tissue photo in the center of the tile, smoothing from the center outward with your fingers to remove any air bubbles. Coat over the photo with an additional layer of Mod Podge and set the tile aside to thoroughly dry:


Once dry, you can add any decorations that you desire! I used brown Staz-On ink and some of my Close To My Heart acrylic stamps on Amy's tile. I then distressed and tore a paper doily and applied it to the lower left corner of the tile with Mod Podge as well. I allowed a few crinkles in the doily when I adhered it to the tile to add to the aged/vintage look that I was going for:


Once the doily was dry, I added an aged burlap flower, button, leaves and keys to the top of the doily with Alene's Quick Dry Tacky Glue:


To give the backside of the tile a finished look, I printed my name and blog address on a piece of cardstock that matched the tile and adhered it to the back using Terrifically Tacky Tape:


Here's another peek at the finished tile:


Lastly, to give you some more ideas, here are some pics of a few of the tiles that I've made through the years...


I think it's so cool how they all turn out so unique due to the crevices and specific features of each tile! Thanks for dropping by today...have a FANTASTIC week!
Photobucket

Wednesday, January 14, 2015

Monogrammed Frame Message Board...

Good evening! We're half-way to the weekend, friends - WOOHOO!! As I promised you a couple of days ago, here's the message board that I made for my friend/co-worker Christi W.'s birthday:


I think it turned out super cute! Here's how I made it:

I started out with a blue painted frame that I picked up at one of our local craft/antique malls. My sweetie stapled a piece of chicken wire to the back of the frame and added a couple of saw-tooth hangers, too. I found a piece of polka-dot scrapbook paper that coordinated with the color of the frame, which I used to cover a wooden "W" and some clothespins.


Before adhering the paper to the wooden "W" with Mod Podge, I painted the outside edges of the "W" black to give it a finished look. After the "W" had dried, I sanded the edges and then added a coordinating bow and button:


I applied the same paper to wooden clothespins with Mod Podge, sanding the edges after the Mod Podge dried:


I attached the "W" to the corner of the frame with E-6000. Here's another photo of the finished project:


I hope that the rest of your week is terrific! We're supposed to have sunny skies and temps in the 50's, which will be a really nice change from the cold fronts that have settled over Oklahoma during the past few weeks!

Blessings,
Photobucket

Monday, January 12, 2015

A Few Cards to Add to My Stash...

Hi, friends! I hope that you had a fantastic weekend. Sweetie and I have finally kicked our colds and are feeling much, much better - woohoo!

My card stash has gotten a little low, so I decided to make a few cards for upcoming celebrations. Here's what I came up with:

First off, a birthday card that I made using up some scraps that I had in a left-over paper bin...


I decorated the outside of the envelope and the inside of the card as well...


Here's a cute card that I made with a fabric flower accent that I hand-stitched. The flower petals are made from 5 circles of yellow fabric that I folded in half and stitched/gathered along the bottom. I sewed each of the "petals" together in the center, attached a gathered/stitched leaf that I fashioned out of green fabric, then added a button and twine bow to the center. I attached it to the card front using a Glue Dot:


Lastly, here's a fun scalloped birthday card that I made using a pre-printed quote from Lucille Ball and little pre-made felt flowers that I picked up at Hobby Lobby. I decorated the outside of the envelope for this card too, since I'll be hand delivering it to the recipient and not mailing it:


Thanks for dropping by today! Be sure to check back in a couple of days to see a cute project that I made for a friend's birthday! :)

Blessings,
Photobucket

Saturday, January 10, 2015

Silly Saturday


HAHAHAHA!!! Corny, I know, but so funny! :)

Have a fun and safe weekend, friends!


Photobucket

Monday, January 5, 2015

A Little of This, and a Little of That...

Happy Monday, Friends! Sweetie and I have been battling colds for the past several days, so not much got accomplished around our house over the weekend. (Unless you count coughing, sneezing, blowing our noses and napping - ha! ha!)

Today I wanted to show-off a project that was made by my UBER-TALENTED sis-in-law, Sandy. It's a quilted "retro-camper" sewing machine cover:


I know! I know! It's TOTALLY AWESOME, isn't it??? I just LOOOOVE all of the sweet details...the gingham curtains, the cute flag banner, the little wheels...ADORBS!!! It looks absolutely perfect in my craft room along with all of the other crafty stuff that I love so much! (Thanks, again, Sandy!!! HUGS!!!)

Last fall I spotted one on Pinterest and shared the photo with my sweetie, mentioning to him that I would love to have something like it for my craft room. He forwarded the pic to his sis Sandy, who ordered the pattern and made one for him to give me for Christmas. (If you'd like the pattern too, you can click HERE to go to the link where she ordered it.)

Thanks for dropping by today! Wishing you a fantastic week ahead!

Photobucket

Saturday, January 3, 2015